Mini Red Velvet Heart Cakes
Highlighted under: Sweet Ending Recipes
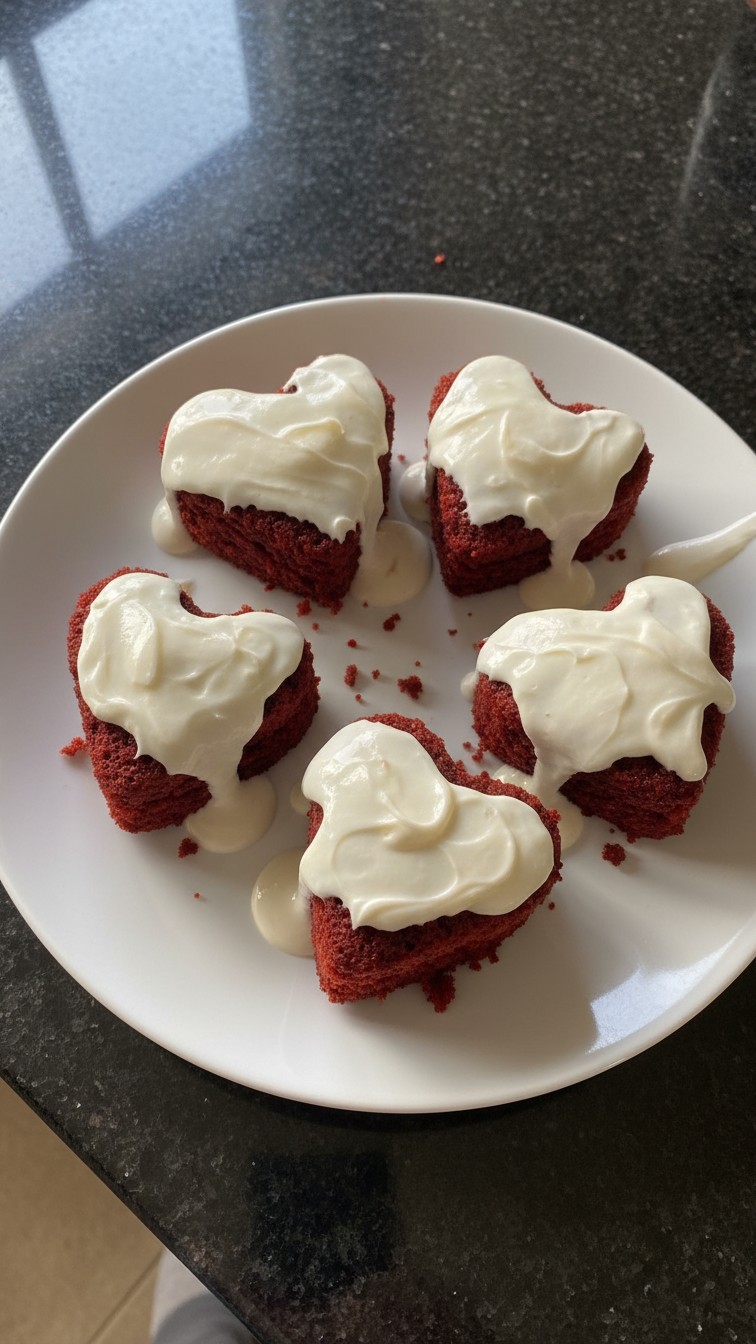
I absolutely love making mini red velvet heart cakes because they are not only adorable but also bursting with flavor. These little delights are perfect for celebrating special occasions or simply enjoying a sweet treat at home. The combination of rich cocoa, buttermilk, and a touch of vinegar creates that signature red velvet taste that is both tender and moist. I can't resist the cream cheese frosting that brings it all together, making each bite a delightful experience.

When I first attempted these mini red velvet heart cakes, I was amazed at how such simple ingredients could come together to create something so divine. I ensure to use high-quality cocoa powder to amplify the chocolate flavor that pairs beautifully with the cream cheese frosting. The trick I discovered was baking them at a lower temperature to get those perfectly soft and fluffy cakes.
Each time I make these cakes, I experiment with different decorations—sometimes simple sprinkles or fresh strawberries. They not only taste fantastic but also look amazing on any dessert table. I love sharing these as gifts, especially on Valentine’s Day or anniversaries, as they express so much love in their small size.
Why You'll Love These Mini Cakes
- Rich chocolate flavor paired with a hint of vanilla
- Adorable heart shape that makes them perfect for celebrations
- Moist and tender crumb that melts in your mouth
Baking Techniques for Perfect Mini Cakes
When baking these mini red velvet heart cakes, it's essential to pay attention to the bake time. Every oven behaves a bit differently, so keep an eye on your cakes starting around the 10-minute mark. The cakes should spring back lightly when touched, and a toothpick inserted into the center should come out clean. Underbaking can result in a gooey center, while overbaking will dry them out, so practice makes perfect!
Don’t forget to allow the cakes to cool in the pans for about 10 minutes before transferring them to a wire rack. This helps them firm up slightly, preventing them from breaking apart. If you have difficulty removing them from the pans, running a thin knife around the edges can help loosen them.
Ingredient Insights for Flavor and Texture
Red food coloring is what gives these cakes their signature vibrant hue, enhancing the visual appeal. However, if you prefer a natural alternative, beet juice can be used to achieve a similar effect, although the flavor may vary slightly. Using high-quality cocoa powder also matters here; it contributes depth and richness to the cakes, enhancing the overall chocolate flavor profile.
Buttermilk is a key ingredient that reacts with baking soda, creating a tender crumb. If you don't have buttermilk on hand, a quick substitute can be made by mixing one cup of milk with one tablespoon of vinegar or lemon juice and letting it sit for about 5-10 minutes.
Ingredients
Gather the following ingredients to make these delightful cakes:
Cake Ingredients
- 1 ½ cups all-purpose flour
- 1 cup granulated sugar
- 1 tsp baking soda
- 1 tsp salt
- 1 tsp cocoa powder
- 1 cup vegetable oil
- 1 cup buttermilk
- 2 large eggs
- 2 tbsp red food coloring
- 1 tsp vanilla extract
- 1 tsp white vinegar
Frosting Ingredients
- 8 oz cream cheese, softened
- ½ cup unsalted butter, softened
- 4 cups powdered sugar
- 1 tsp vanilla extract
- Milk (as needed for consistency)
Make sure to check your pantry for any missing ingredients before you start!
Instructions
Let's walk through the steps to create these beautiful mini cakes:
Preheat the Oven
Preheat your oven to 350°F (175°C) and grease your mini heart-shaped cake pans.
Prepare the Batter
In a large bowl, whisk together flour, sugar, baking soda, salt, and cocoa powder. In another bowl, mix vegetable oil, buttermilk, eggs, red food coloring, vanilla, and vinegar until smooth. Combine the wet and dry ingredients.
Bake the Cakes
Pour the batter into the prepared pans and bake for 12-15 minutes, or until a toothpick comes out clean. Let them cool in the pans for 10 minutes before transferring to a wire rack.
Make the Frosting
In a bowl, beat the cream cheese and butter together until creamy. Gradually add the powdered sugar and vanilla, mixing until smooth. Adjust with milk if too thick.
Frost the Cakes
Once the cakes are completely cool, frost each mini cake generously with the cream cheese frosting.
Serve and Enjoy
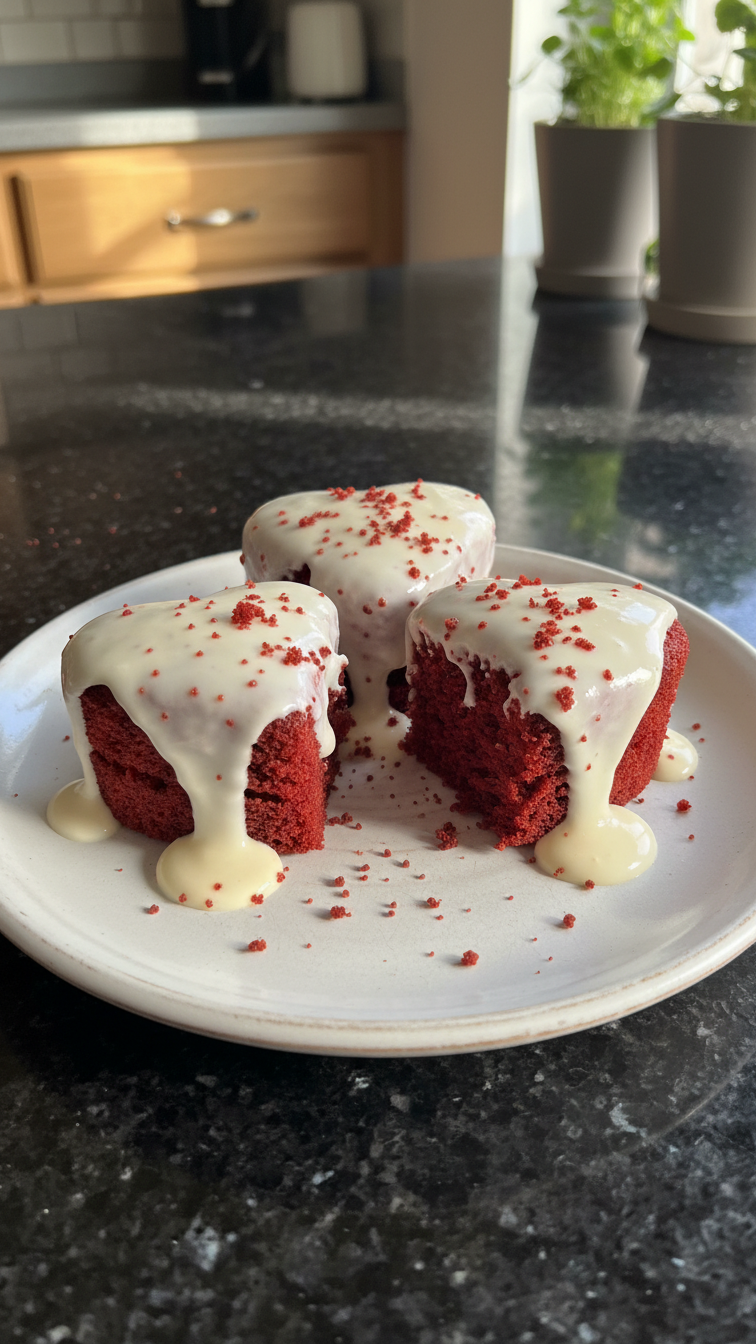
Decorate as desired with sprinkles or fresh fruits, and enjoy your mini red velvet heart cakes!
Enjoy these cakes warm or at room temperature!
Pro Tips
- For extra moisture, you can substitute half of the vegetable oil with unsweetened applesauce. Additionally, if you're short on time, using store-bought frosting can speed up the process.
Frosting Variations
While the classic cream cheese frosting pairs beautifully with red velvet, you can try variations to suit your taste. For a chocolate twist, integrate cocoa powder into the frosting—about ½ cup should suffice for a rich flavor without sacrificing creaminess. Just remember to adjust the powdered sugar accordingly for consistency.
If you're looking for a lighter option, consider a whipped cream cheese frosting. By folding in whipped cream, you’ll get a fluffy texture that balances well with the dense cakes. This is particularly great for summer celebrations!
Storage and Make-Ahead Tips
These mini cakes can be baked ahead of time, making them an ideal dessert for parties or gatherings. Once cooled, store them in an airtight container at room temperature for up to three days. For longer storage, you can freeze the unfrosted cakes, wrapped tightly in plastic wrap, for up to two months. Just thaw them in the refrigerator before frosting.
If you have leftover frosted cakes, they will stay fresh in the fridge for up to a week. To minimize the mess when serving, consider cutting them into bite-sized pieces, making them easy to grab and go!
Questions About Recipes
→ Can I make these cakes ahead of time?
Yes, you can bake the cakes a day in advance. Just store them in an airtight container in the fridge, then frost right before serving.
→ What can I use instead of red food coloring?
You can use beet juice for a natural alternative, although the color will be less vibrant.
→ How can I store leftover cakes?
Keep any leftover mini cakes in an airtight container in the fridge for up to 3 days.
→ Can I freeze these mini cakes?
Yes, you can freeze the un-frosted cakes. Just wrap them well in plastic wrap and place them in a freezer-safe bag for up to 2 months.
Mini Red Velvet Heart Cakes
I absolutely love making mini red velvet heart cakes because they are not only adorable but also bursting with flavor. These little delights are perfect for celebrating special occasions or simply enjoying a sweet treat at home. The combination of rich cocoa, buttermilk, and a touch of vinegar creates that signature red velvet taste that is both tender and moist. I can't resist the cream cheese frosting that brings it all together, making each bite a delightful experience.
Created by: Emily
Recipe Type: Sweet Ending Recipes
Skill Level: Intermediate
Final Quantity: 12 cakes
What You'll Need
Cake Ingredients
- 1 ½ cups all-purpose flour
- 1 cup granulated sugar
- 1 tsp baking soda
- 1 tsp salt
- 1 tsp cocoa powder
- 1 cup vegetable oil
- 1 cup buttermilk
- 2 large eggs
- 2 tbsp red food coloring
- 1 tsp vanilla extract
- 1 tsp white vinegar
Frosting Ingredients
- 8 oz cream cheese, softened
- ½ cup unsalted butter, softened
- 4 cups powdered sugar
- 1 tsp vanilla extract
- Milk (as needed for consistency)
How-To Steps
Preheat your oven to 350°F (175°C) and grease your mini heart-shaped cake pans.
In a large bowl, whisk together flour, sugar, baking soda, salt, and cocoa powder. In another bowl, mix vegetable oil, buttermilk, eggs, red food coloring, vanilla, and vinegar until smooth. Combine the wet and dry ingredients.
Pour the batter into the prepared pans and bake for 12-15 minutes, or until a toothpick comes out clean. Let them cool in the pans for 10 minutes before transferring to a wire rack.
In a bowl, beat the cream cheese and butter together until creamy. Gradually add the powdered sugar and vanilla, mixing until smooth. Adjust with milk if too thick.
Once the cakes are completely cool, frost each mini cake generously with the cream cheese frosting.
Decorate as desired with sprinkles or fresh fruits, and enjoy your mini red velvet heart cakes!
Extra Tips
- For extra moisture, you can substitute half of the vegetable oil with unsweetened applesauce. Additionally, if you're short on time, using store-bought frosting can speed up the process.
Nutritional Breakdown (Per Serving)
- Calories: 380 kcal
- Total Fat: 26g
- Saturated Fat: 15g
- Cholesterol: 195mg
- Sodium: 85mg
- Total Carbohydrates: 32g
- Dietary Fiber: 3g
- Sugars: 24g
- Protein: 6g